Tiffany Mixon
Sr. Customer Success Manager


Rex Kehoe
Director of Installers
What is the Path to Solar Installation?
November 4, 2019
In this week’s livestream, Tiffany Mixon, our Sr. Customer Success Manager, joins livestream veteran Rex Kehoe to discuss the entire path to solar installation, from signing an agreement to PTO and system monitoring.
So, What is the Path to Solar Installation?
There are many moving parts on the path to solar installation. You could literally spend hours going down the rabbit hole of all of the different options and variables (and believe us, we have!), but the path to installation can generally be summarized in the following nine steps:
- Sign an agreement
- Financing approval
- Site evaluation
- City/county permits
- Reroof/Electric panel upgrade
- Solar system installation
- Inspection
- PTO (Permission to Operate)
- System monitoring
We’ll go into a little bit of detail about each, and hopefully by the end of this article you’ll have a comprehensive idea of what the path to solar installation looks like. Let’s start with step 1.
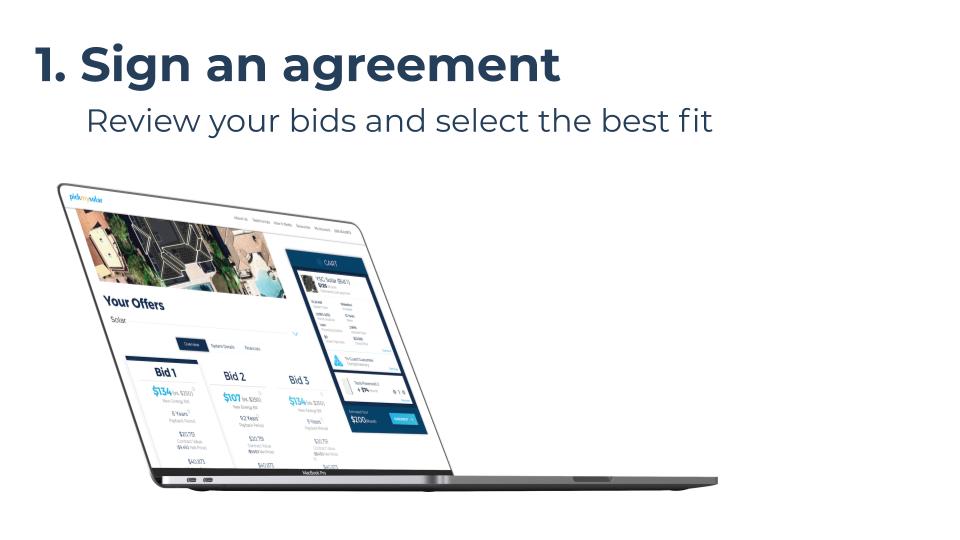
1. Sign an agreement
Signing an agreement is a self-explanatory and logical first step, as there would be no way to move forward with an installer without first selecting and signing an agreement. Going solar is a big investment, and an important decision. Equally important is the installer with which you choose to do business. At Pick My Solar, we would of course recommend considering multiple bids in order to determine the best agreement for your household. Customers who use Pick My Solar save an average of $2,800 compared to signing an agreement directly with an installer, so it’s definitely worth considering multiple bids against each other before you pick an installer and sign your agreement.
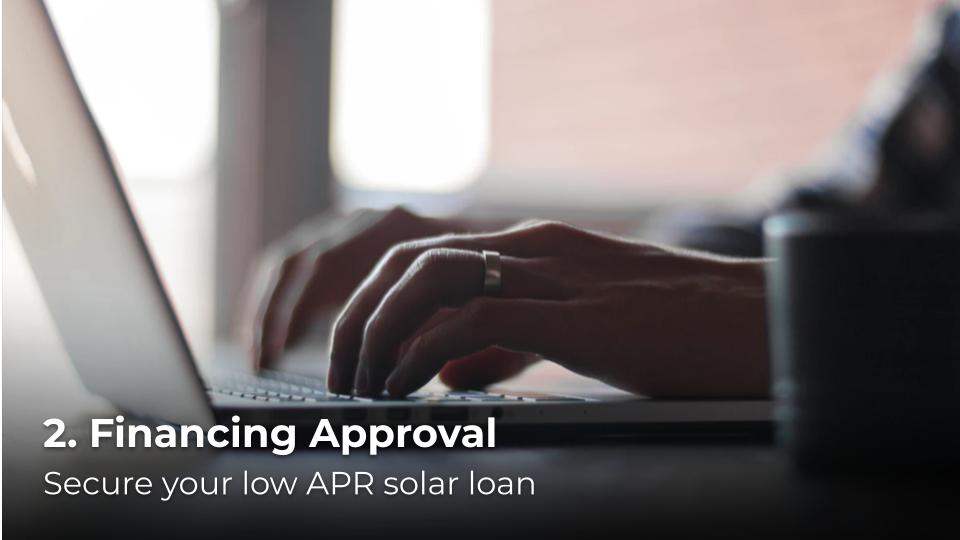
2. Financing Approval
After you select an installer and sign an agreement, you will have multiple financing options available to pay for your system. Whether you want to go cash, or take out a re-amortization loan, same-as-cash loan, or combo loan, it is important to review all of the possible options and find out which one is going to be the best fit. During this step, you will have access to the experienced Pick My Solar customer service team to walk you through all of the options and financing types. Once you’ve decided how to pay for your system, your financier will want to make sure you’re qualified for your specific loan type. Your financier will want to know a few things about your financial history, and from there the qualification process is very quick.
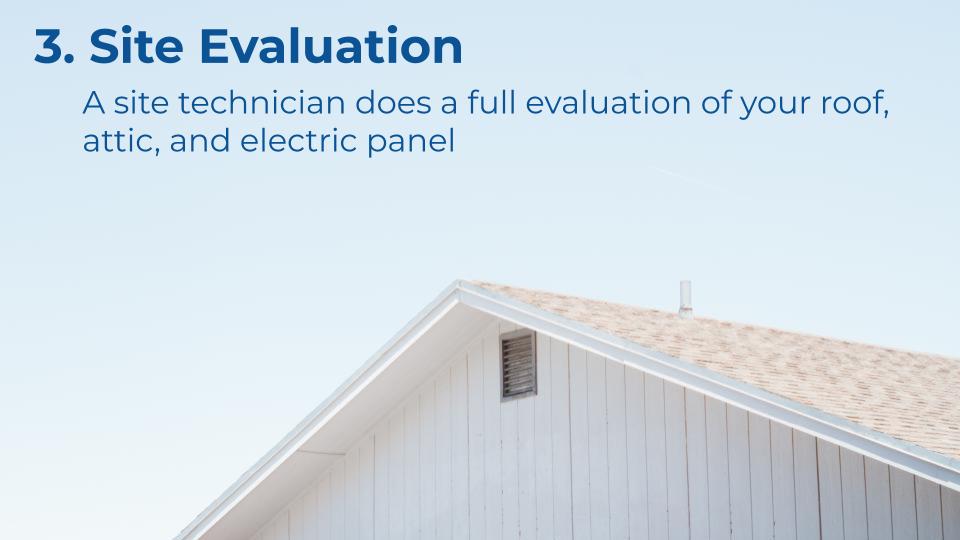
3. Site Evaluation
During this step, your installer will send a solar technician out to your home to verify that your home is fit for solar, and check to see if any upgrades are necessary prior to installation. They’ll assess your roof, main electrical panel, any obstructions near the home, and anything else that could potentially impede or lengthen your path to solar installation. They will take a number of pictures and measurements, and send them off to the installer’s engineering team, who will verify that your solar design and estimated production matches those in your agreement. This step is necessary to make sure that expectations are properly set for both you and the installer, and to make sure that there are no surprises when install day comes on your path to solar installation.
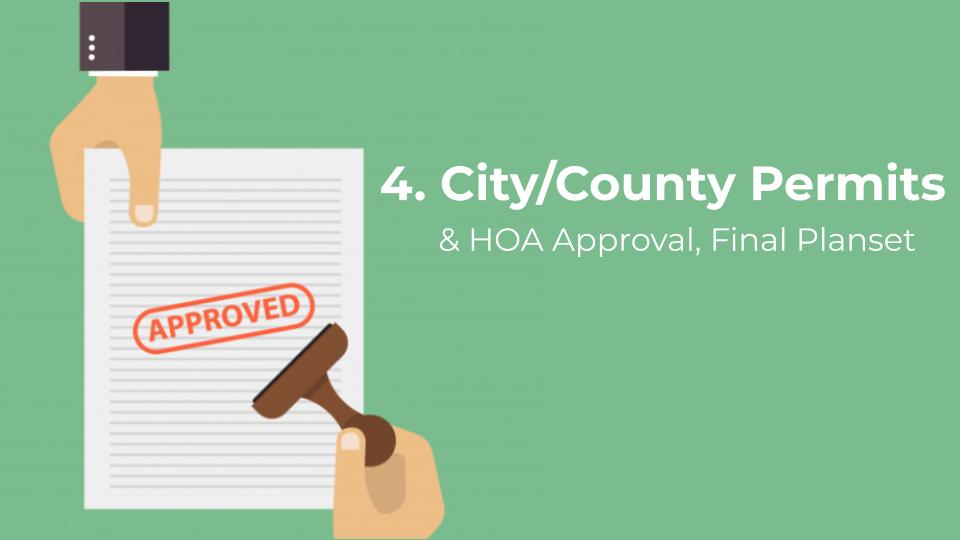
4. City/County Permits
After the first three steps are done, and all of the details of your agreement and plan are finalized and ironed out, it’s time to submit permits to the city or county. There is some variability in the timeline for this step, depending on where you live. Permits could be approved in as little as a few days, and could also take up to a couple months. Typically your installer will have a good idea of how long your permits will take, as they work in your area and will be familiar with the local permit office’s idiosyncrasies. If your home is in an HOA, HOA approval will also be taken care of in this step while you’re waiting for your permits. The AHJ (Authority Having Jurisdiction) in charge of your permits will usually want to see approval from your HOA, if applicable, before they will finalize and release your permits.
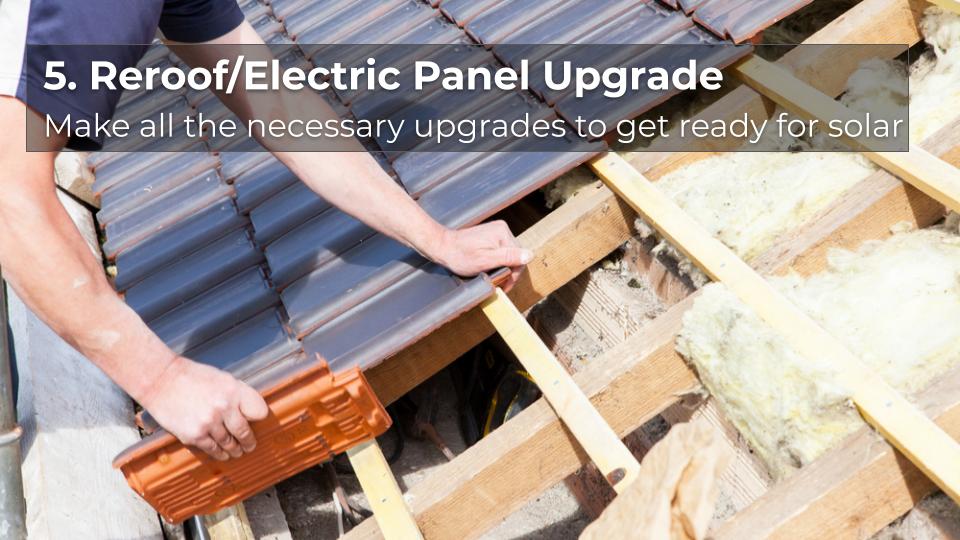
*5. Reroof/Electric Panel Upgrade
*This is sort of an in-between or if-applicable step. If the results of your site evaluation in step 3 determine that you need additional roofing work, an upgrade to your main electrical panel, or a similar upgrade, this step will actually take place between the site evaluation and permitting. It is not necessary in every case, and it is actually more likely than not (again, depending on where you live) that your home is already ready for solar and will not require any upgrades.
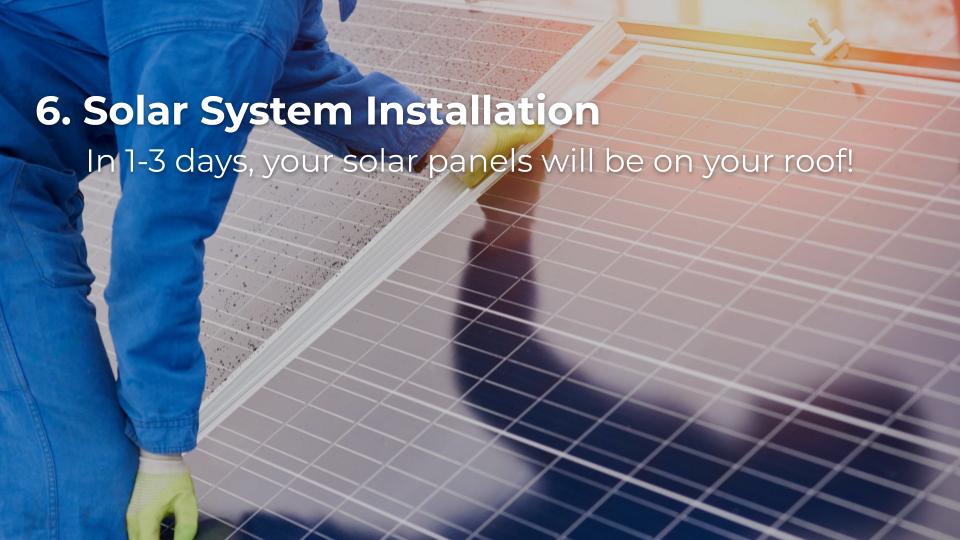
6. Solar System Installation
Time for the most fun stop on the path to solar installation! Once permits are obtained, your installer will begin scheduling the actual installation immediately. Depending on the size or complexity of the specific job, solar installation typically takes 1-3 regular work days. Installers will show up around 8am, work until 5pm, and are diligent about cleaning up after themselves and securing your home at the end of their work day. Our installers pride themselves on being non-invasive, and providing an experience for the homeowner that is exceptionally safe and convenient. Once you are put in an installer’s install queue, depending on their current volume and the time of year, you could get installed in as early as a week or it could take up to a few months at most. There are other potential mitigating factors depending on the weather in your location – for instance, if you live somewhere prone to extreme temperatures or inclement weather, that could potentially delay your installation. However, we at Pick My Solar do everything within our power to ensure that your path to installation is as short and painless as humanly possible.
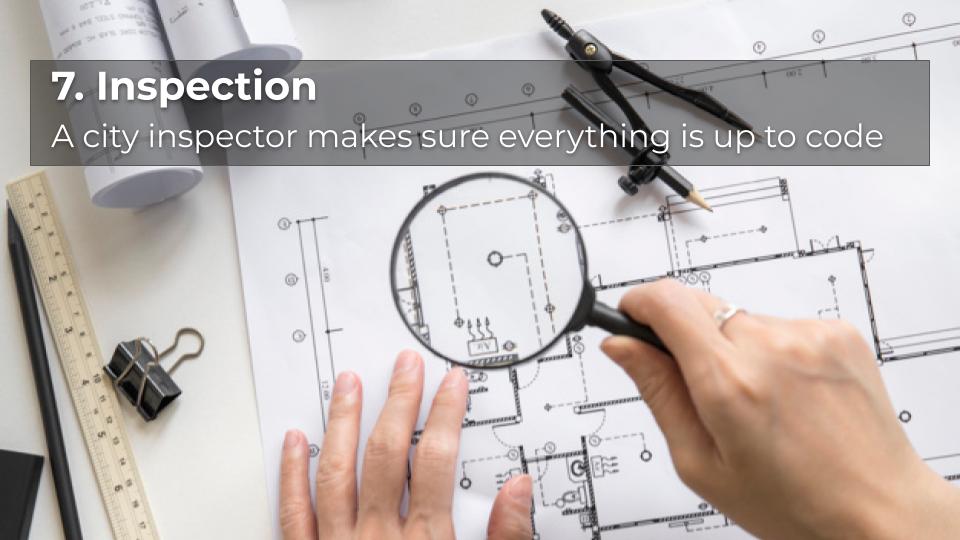
7. Inspection
Most installers will schedule your inspection as soon as your installation is completed. A city inspector will come to your home with your original plan set, and verify that the project is up to code and that your system matches the plan that was approved in the permitting stage. Most inspections pass with flying colors on the first try, but once in a while inspections are temporarily hung up by a clerical error, or a minor discrepancy between the plan set and the actual project. In the case of a failed inspection, the error will be quickly corrected and a new, updated plan set will be submitted for final inspection.
8. PTO (Permission to Operate)
After final inspection, the last active step in the path to solar installation is PTO. This is essentially your utility company verifying all of the necessary plans and documents and electrical work, and then giving you permission to operate your system and remotely turning it on for you. Like many steps on the way to installation, the timeline for PTO varies depending on where you live, the time of year etc. When you do get activated, from this point forward, your solar system will be actively producing electricity for your home, and providing your excess production to the grid.
9. System Monitoring
After PTO, the last step in the path to solar installation is system monitoring. Any installers that works with Pick My Solar will set you up with an in-home monitoring app on your smart phone or computer, so that you can keep track of your system’s status and production whenever you like. The monitoring system will also send alerts to your installer and to our customer service team any time your system has a problem, like a malfunctioning piece of hardware or unexpectedly low production. If the monitoring system detects a problem with your system that needs addressing, your installer will promptly send a technician out to diagnose and fix the problem. With so many sets of eyes on your solar system (yours, Pick My Solar’s, and your installer’s) you’re guaranteed to have up-to-date accurate information about the health and production of your solar system.
Have a question for our team? Leave us a comment in the video above and we’ll get back to you next week!
Interested in adding battery to your solar system? Get started here on our online marketplace where our team of trusted Energy Advisors will find the best deal for you!